
---
Final Cut Pro X for Beginners
This tutorial uses the movies from the YouTube.
1) Download the movies
2) Run Final Cut Pro X

3) Final Cut Pro X Main Application Window

Notice that in the panel “Event Library”, there is an item “Macintosh HD”. It refers to the local hard disk of the computer.
Before performing video editing, you need to create Event and import media files into it.
4) Add Event
By default, Final Cut will create a start up Event for you. However you can add more events to your Hard Disk.
For this tutorial, we will create an Event called Abang-Long-Fadil.
You can perform this in any of the following method:
a) Select the item “Macintosh HD” and 2-Finger-Tap your trackpad (or Right-Click your mouse or Press CONTROL button and left-click your mouse) (Hereafter I will just call this Control-Click) and select New Event.
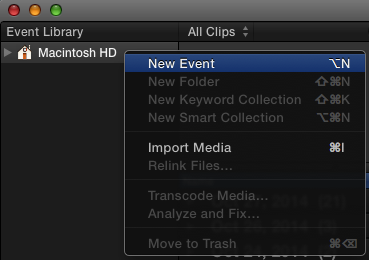
b) Go to Menu Bar. Select File/New Event.

In practice, Method (a) is faster.
5) Import Media
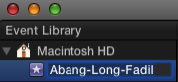
5.1) Select the Event “Abang-Long -Fadil”, Control-Click and select Import Media.

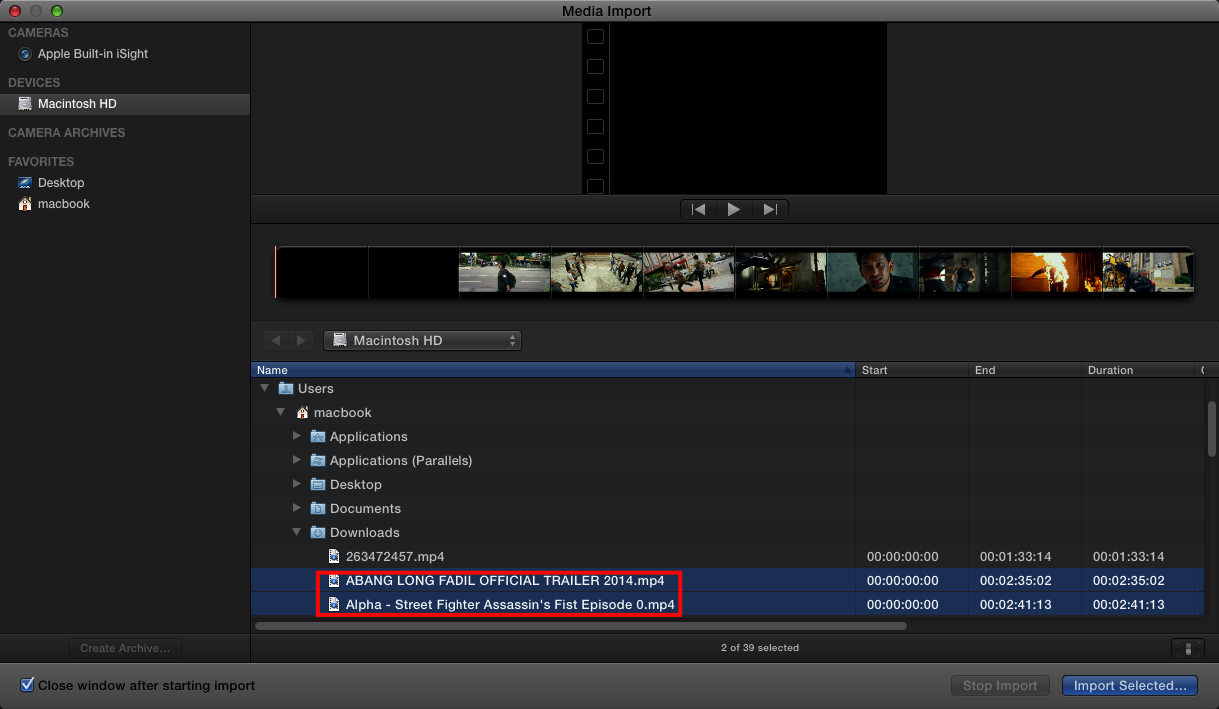
Select both movie clips and click Import.
Select the two options below and click Import.
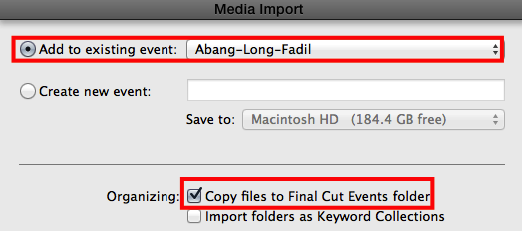
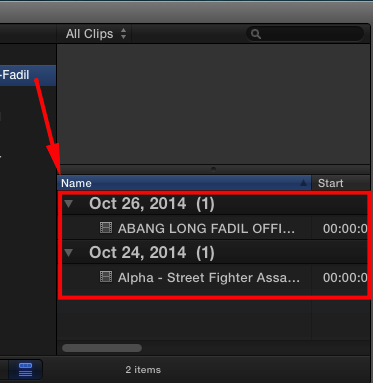
As a result, the movie clips are displayed in the Clips Panel.
Don’t bother the date because it is not relevant.
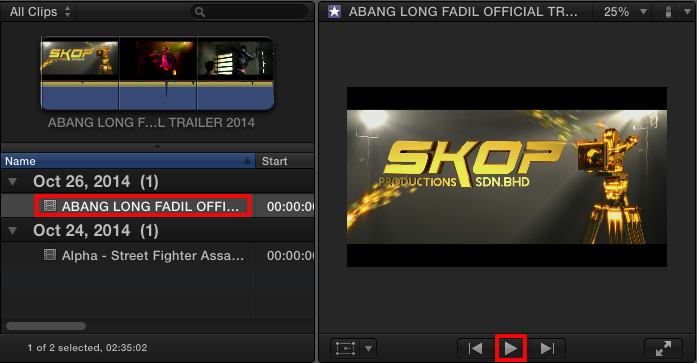
6) View the clip.
6.1) Select the clip and click the Play Button in the Preview Panel.
7) Create a new Project
7.1) Go to Project Library Panel and click the + icon.

7.2) Enter the project name “Abang-Long-Fadil-StreetFighter-Version”

7.3) Outcome.

8) Insert Clip into the project Story Line
8.1) Select the movie clip “Abang Long Fadil…” in the Clip List, drag it into the Project Story Line and drop it there.
8.2) Press SPACE BAR key to preview.

---